To add a Google Map to your blog go to http://www.google.com/apis/maps/ and click on the Sign up for a Google Maps API key button. It will take you to this page :
http://www.google.com/apis/maps/signup.html. This key identifies your web site to Google and helps them track usage of Google Maps. A new and distinct key is needed for each directory on your website that includes Google Maps.
Put a check in the box where it says I have read and agree with the terms and conditions and paste your blog url in the text box below and click on Generate API Key button.
Copy paste this code (ONLY THE BLUE LINES) just below the title tag in your template :
<script src='http://maps.google.com/maps?file=api&v=2&key=YOUR KEY' type='text/javascript'>
IN THE ABOVE LINE ADD amp; AFTER BOTH THE & CHARACTERS OR YOU WILL GET ERROR MESSAGE.
</script>
<script type="text/javascript">
//<![CDATA[
function load() {
if (GBrowserIsCompatible()) {
var map = new GMap2(document.getElementById("map"));
map.setCenter(new GLatLng(37.4419, -122.1419), 13);
}
}
//]]>
</script>
Type in your Google API key code where it says 'YOUR API KEY CODE HERE' above.
Save Template.
Then paste this code inyour template just after <body> tag :
<body onload="load()" onunload="GUnload()">
<div id="map" style="width: 500px; height: 300px"></div>
</body>
Save Template.
Paste this code in the css part of your template :
#map {
float:right;
margin:10px 20px 10px 10px;
}
Save Template
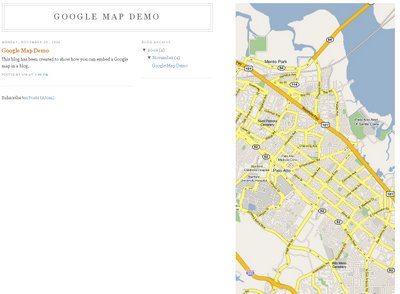
See how I have added it to my test site : http://googlemapdemo.blogspot.com/
Click on image below for larger view.

IMPORTANT : It is necessary to have an empty space in the right hand part of the body of your template to add this in the way I have done. I have used the Minima template and added a float left property to the outside wrapper to create room for the Google Map on the right side.